How do I create a route?
- Henri
- octobre 16, 2025
On a tablet or smartphone

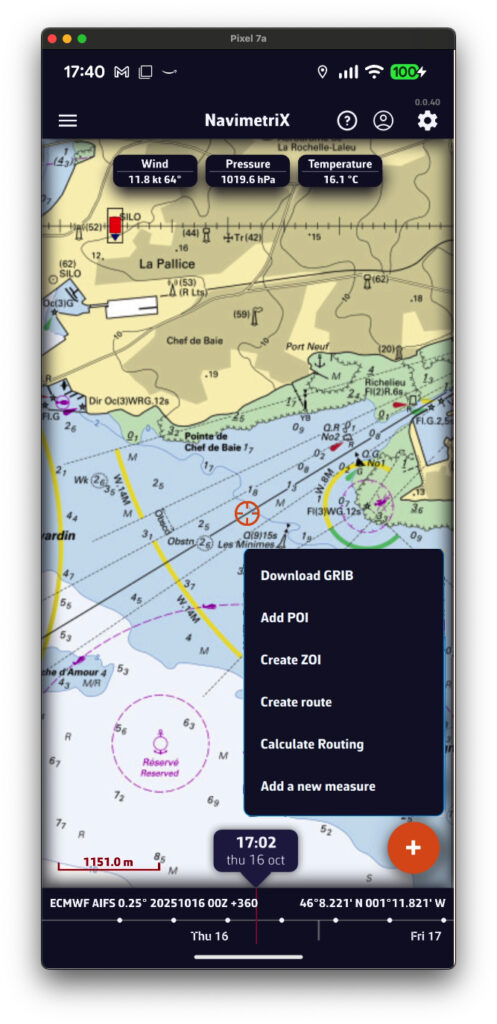
Move the chart under the target displayed on the screen, zooming in for precise positioning, then tap the + icon in the lower right corner. From the menu, select “Create a route”.
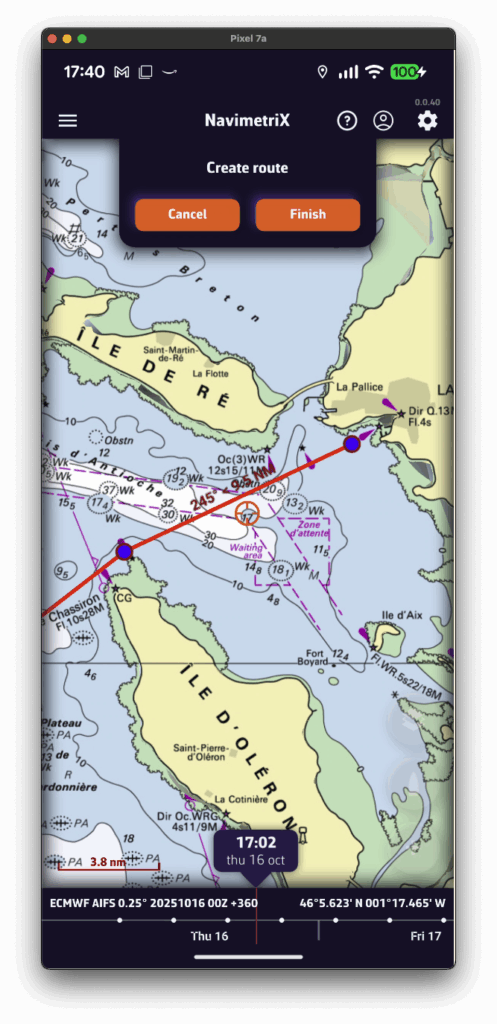
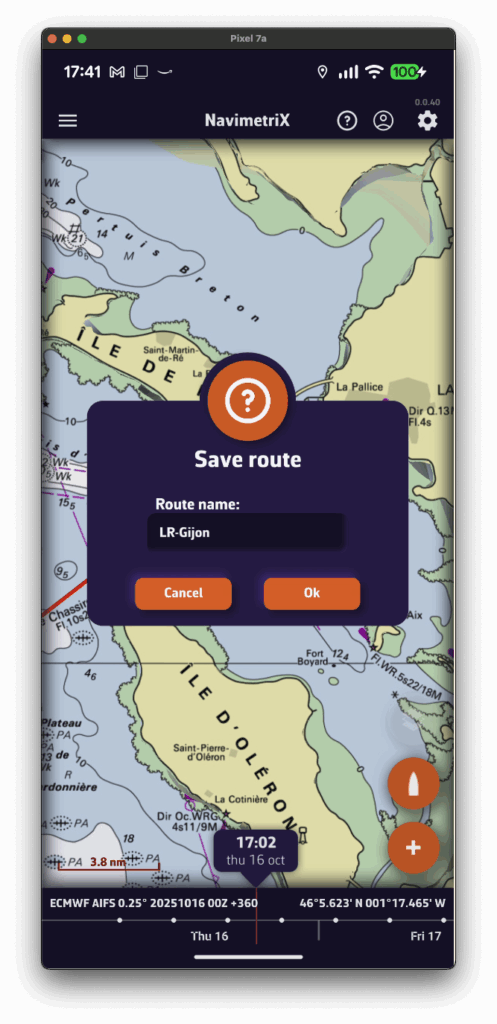
Tap successively to place the desired points. You can drag them with your finger to move them if needed. Zoom in for more precise placement. Once finished, select the “Finish” button at the top of the screen. Enter a name for your route and confirm saving by tapping “OK”.
On a Mac or PC
Click to create successive points, zooming in for better accuracy. You can also drag the points to adjust their position if needed. Click the “Finish” button at the top of the screen. Enter a name for your route and confirm saving by clicking “OK”. Alternatively, you can proceed the same way as on a tablet or smartphone.
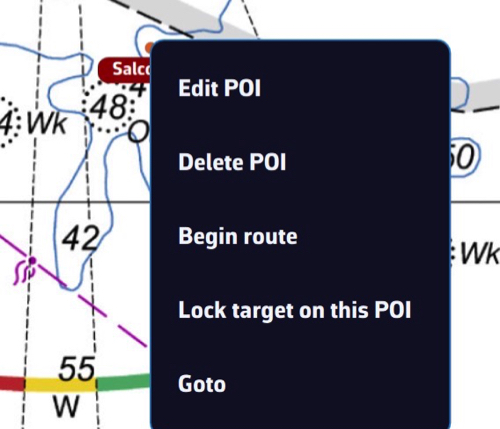
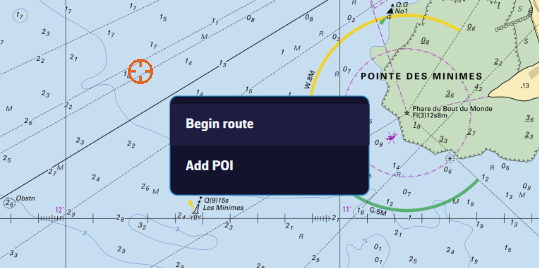
In any case, you can also create a route by tapping or clicking an existing POI (waypoint) and selecting “Begin route” from the popup menu starting from that point.
Saving
Routes are saved in the Routes list, located in the left sidebar of the screen, accessible via the ≡ symbol in the top-left toolbar.
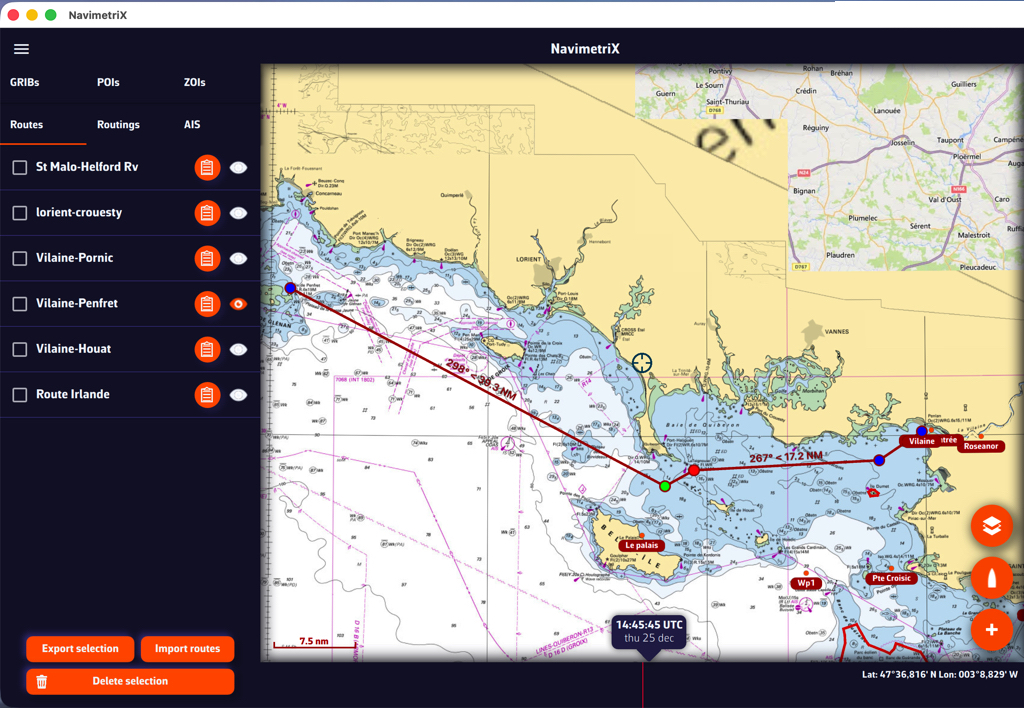
Tap the “eye” icon next to each route to toggle its display on or off. Use the checkboxes to select routes for export or remove.
Reverse route

A “Table” icon allows you to open the detailed route info. Tap/clic “Reverse route” button to sail back.
